This:
http://shop.ninjablocks.com/blogs/how-to/7506204-adding-433-to-your-raspberry-pi
and:
http://www.disk91.com/2013/technology/hardware/raspberry-pi-receive-433mhz-radio-signal/
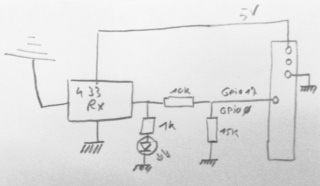
if the receiver needs 5v, remember the nice 5v->3.3v circuit:
http://www.disk91.com/2013/technology/hardware/oregon-scientific-sensors-with-raspberry-pi/
Basically just install wiringPi, then the 433utils:
root@rpi02:~# git clone git://github.com/ninjablocks/433Utils.git
Cloning into ‘433Utils’…
remote: Counting objects: 129, done.
remote: Total 129 (delta 0), reused 0 (delta 0)
Receiving objects: 100% (129/129), 28.02 KiB, done.
Resolving deltas: 100% (55/55), done.
root@rpi02:~# cd 433Utils/RPi_utils
root@rpi02:~/433Utils/RPi_utils# make
g++ -c -o RCSwitch.o RCSwitch.cpp
g++ -c -o send.o send.cpp
g++ RCSwitch.o send.o -o send -lwiringPi
g++ -c -o codesend.o codesend.cpp
g++ RCSwitch.o codesend.o -o codesend -lwiringPi
g++ -c -o RFSniffer.o RFSniffer.cpp
g++ RCSwitch.o RFSniffer.o -o RFSniffer -lwiringPi
root@rpi02:~/433Utils/RPi_utils#
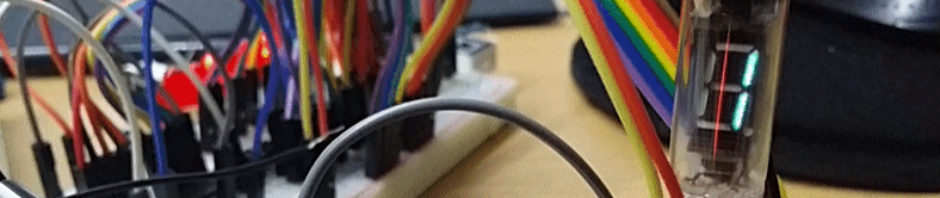
Then transmit something over 433MHz (car key, electric socket remote control..)
And run the thing:
root@rpi02:~/433Utils/RPi_utils# ./RFSniffer
Try also with the transmitter.
I can see lights blinking, but RFSniffer doesnt show anything.
Trying to see what is happening on the pins at lower level with this:
http://abyz.co.uk/rpi/pigpio/piscope.html
pigpiod should be installed first.
piscope is GREAT!